With 2022 being the Year of the Tiger we thought it would be fun to try a tiger craft. Here's how we did it with our "bleeding" tissue paper technique.
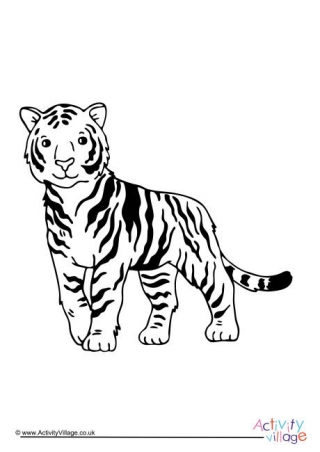
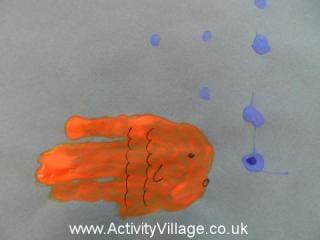
My daughter did a really stunning, brighly coloured tiger painting last year and I kept thinking of that image – a tiger in bright colours, more abstract than realistic - and thought it would be fun to try and recreate something similar. I searched on the website for a suitable tiger image and found this Chinese New Year Tiger Colouring Page. So we downloaded it and printed a few copies onto white card.
We have bled tissue paper before but we always bleed it onto a plain piece of card and then cut up the patterns to create other crafts. This time we decided to try and bleed it over a printed image. The exact same idea applied – cut or tear pieces of tissue paper, place them on your sheet of card and then, using a paint brush, brush water over the tissue paper so the colours bleeds onto the card. NB: When you bleed the tissue paper please make sure you have a larger sheet of paper or a messy mat underneath your page – we have often bled tissue paper and the kids do sometimes manage to get the dye onto other surfaces!
Applying strips of bleeding tissue paper ready to paint with water
Once you have given it a little bit of time to dry you can peel off the tissue paper to reveal your colourful patterns.
We tried three slightly different versions.
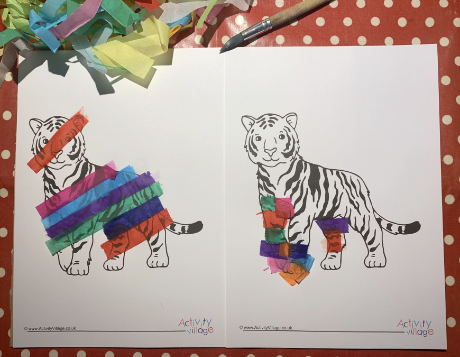
For the first, we applied strips of tissue paper...
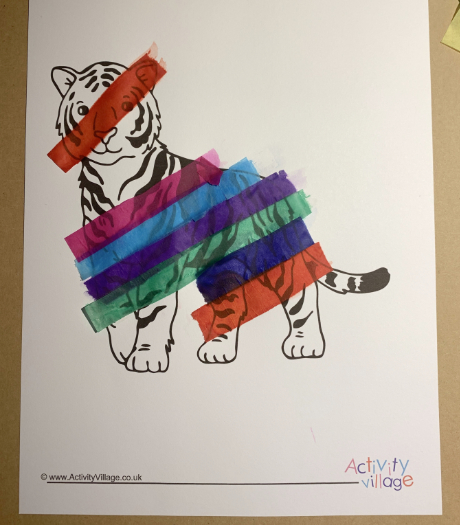
Applying strips of tissue paper
... and got a colourful stripy tiger!
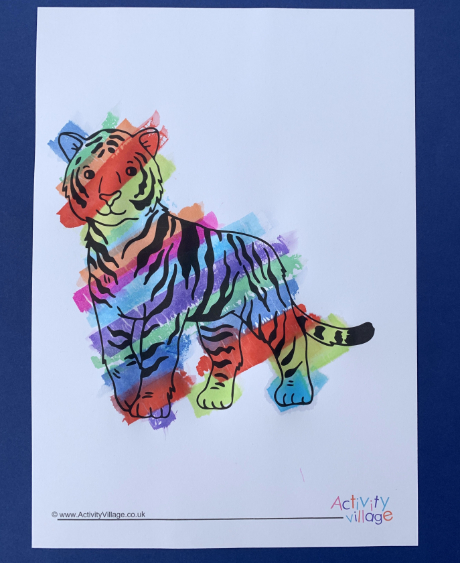
Here's our colourful, stripy tiger!
For the second, we used smaller, torn off pieces of tissue paper...
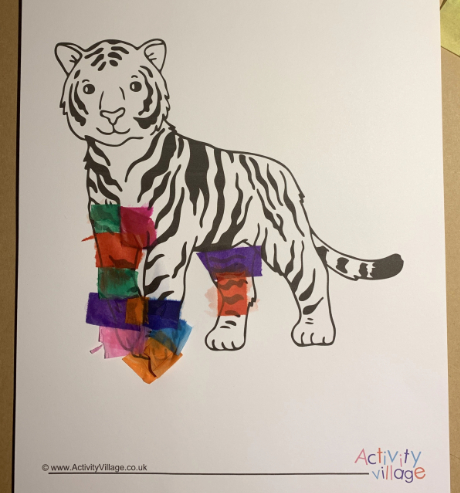
Applying smaller pieces of colourful tissue paper
... and ended up with another colourful tiger!
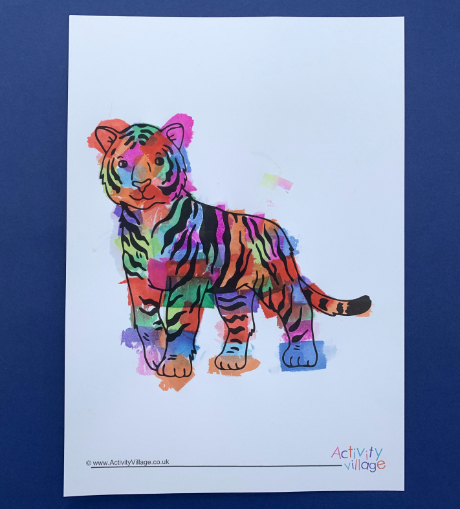
Our multi-coloured tiger
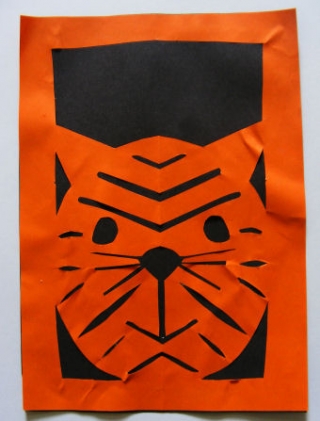
For the third, we chose more realistic, orangy colours of tissue paper, and ended up with a more realistic tiger!
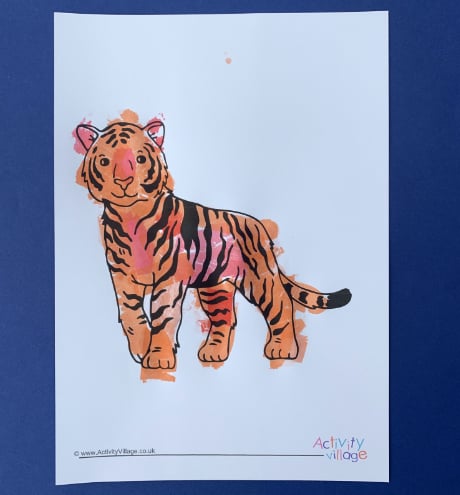
Our more realistic orange tiger
Once we had finished with all the bleeding and pealed off the layers of dried tissue paper, we cut out the tigers.
We first just cut around the edges and ignored the small section between the two front legs. It is a very tricky bit of cutting and I think a lot of kids would struggle with it. In the next photo you can see what the tigers would look like if you left that small section uncut. It's not very noticeable.
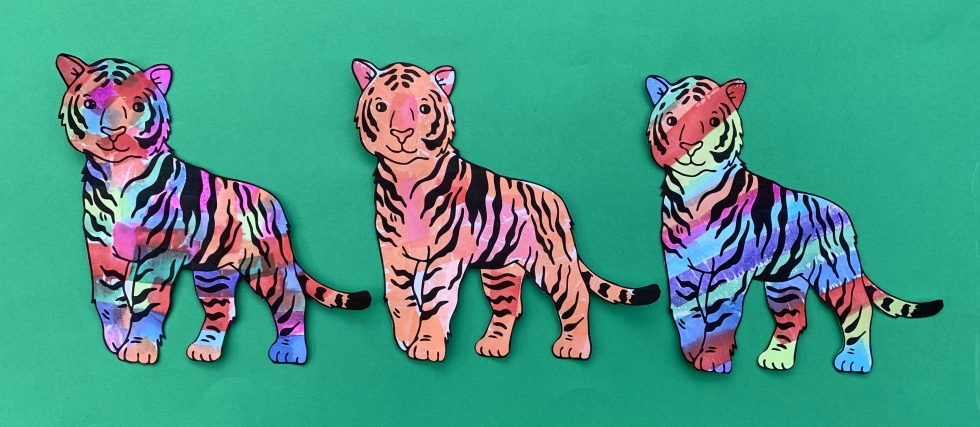
Our three completed and cut out tigers
But for our purposes we wanted to cut that small section out and we managed using nail scissors. An adult or older child might use a craft knife, with care.
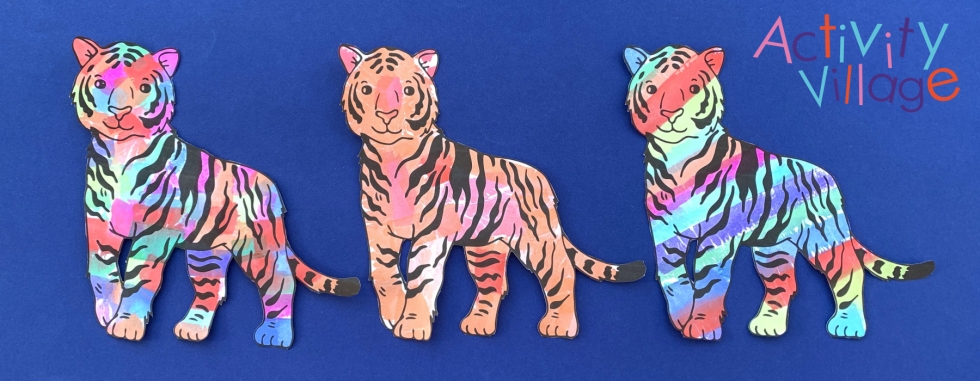
Here are the tigers with everything cut out
I must confess I really love the end result. But I am not sure what to do with them – do we use them for a card? Or do we just hang the tigers up like they are? We actually have not decided but whatever you do end up doing with your tigers I am sure you will love them just as much as we do!
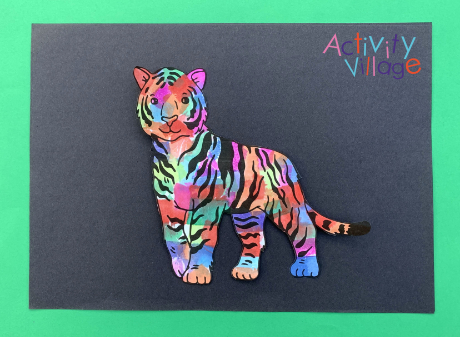
Our multicoloured tiger mounted on a black background
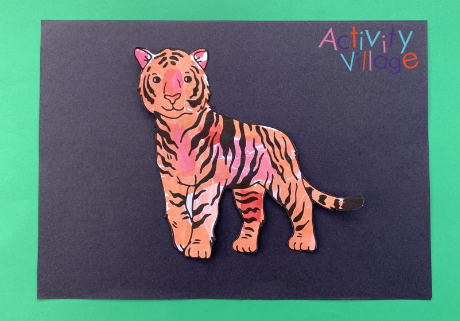
Our realistic tiger mounted on a black background

This is a guest post from Shelly. Shelly is a home educating parent of two children aged 10 and 12. She blogs at ofamily learning together where she shares ideas on the different learning activities that they do including lots of hand-on maths, arts and crafts and anything else that is part of their home educating lifestyle.
You can find more guest posts by Shelly, and a list of all our guest posts, here.