Making a seasons poster is an easy, low mess activity for young kids to enjoy. In this guest post Shelly shares her ideas for making seasons posters using resources from Activity Village.

Making a Seasons Poster
By Shelly
When the kids were younger we had a lot of fun making a few different seasons posters so I thought I would explain how we set them up. They were easy, low mess, and a great activity for little kids. I've also put together a set of printables that you can use to recreate our poster below, if you want a really quick and easy activity!
We started with a large piece of card (usually A3 size). If you don’t have A3 card you could use four separate pieces of A4 and just stick them all together. If you are using four A4 sheets of cards, you might want to make each piece a different colour: possibly green for summer, orange for autumn, pink for spring and pale blue for winter. We folded our A3 card into 4 sections.
As the point of our season poster is to show that seasons are cyclical and continuous, I wanted to have a circular feel to them. See the photo below for how we folded the card.
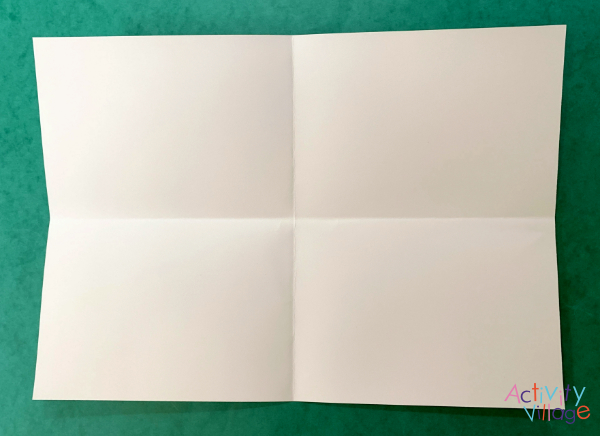
Folding the A3 card
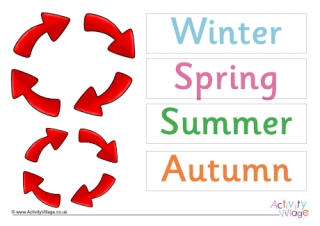
Start by either sticking down our four seasons poster labels or writing them onto the card and drawing in arrows to show the way the seasons move. Our printout also has sets of different-sized arrows which you can use instead of drawing in your own.
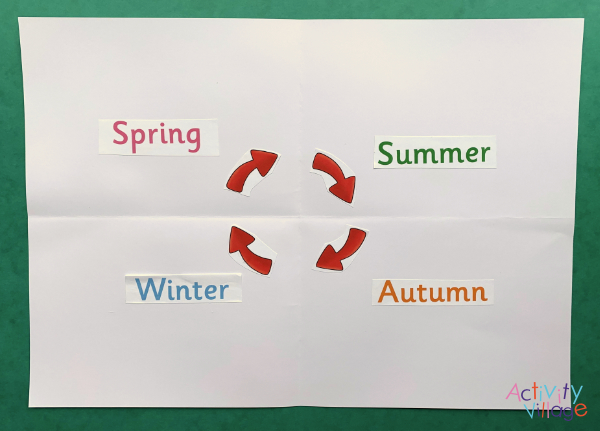
Adding the season labels and arrows
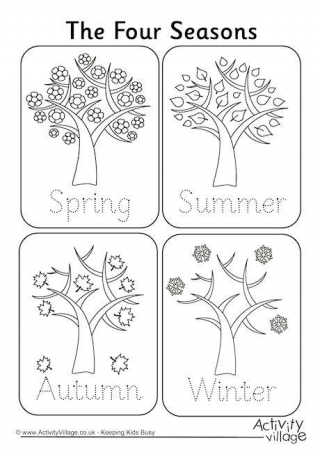
We added in seasonal trees. You could draw in your own tree or use the trees on our Four Seasons Posters, which we used to create the poster pictured. I really like this idea of the image of the tree because it is an obvious indicator of changing with the seasons. Discuss with the children how in spring it is covered in blossoms, in summer it is leafy and green, in autumn the leaves change colour and begin to fall, and in winter the tree is bare.
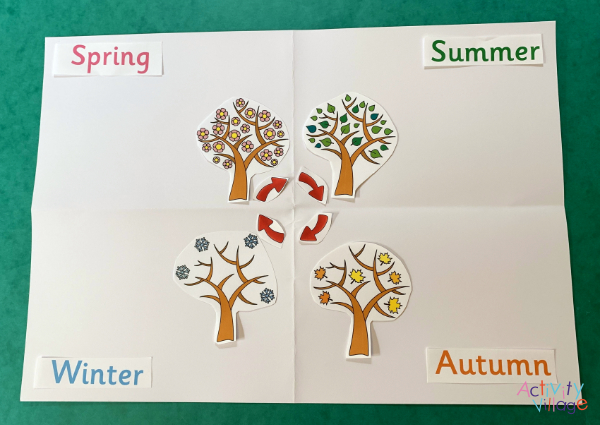
Seasonal trees added to the poster
Have fun and encourage the kids to use their imagination creating the poster. There are so many different ways you can create and place the labels. One year my kids turned the tree into a flap; as you lifted up the tree flap, they had written the name of the season underneath.
My kids would cut out images that they felt represented the different seasons and stick them in the correct place. You could give them magazines to leaf through for images, or use our Four Seasons Posters (which we used) or the four seasons cutting shapes that you will find here:
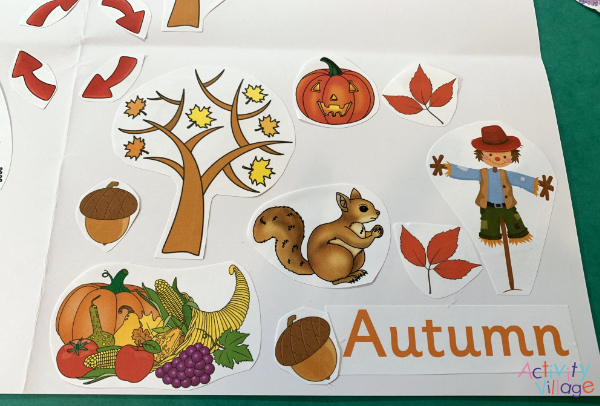
Building the section for autumn
We tended to do one season at at time but as long as the kids are having fun and engaged I really let them do what they wanted.
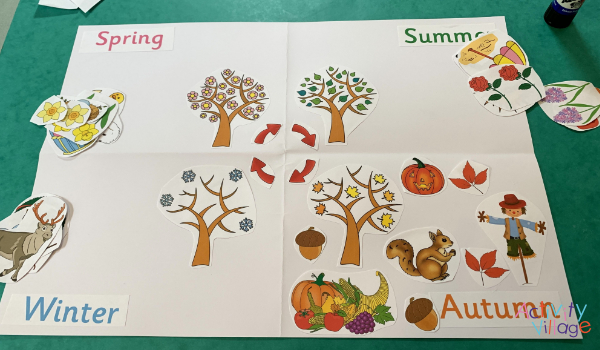
About to add more seasons to the poster
If you don’t mind letting the kids loose with glitter they could always add some coloured glitter to represent snow or spring blossoms. In addition to images, you could talk about the colours of each season and find scraps of paper and fabric to add to the poster.
The end result will be a colourful, fun season poster which you can hang up in your home and revisit each time the season begins to change.
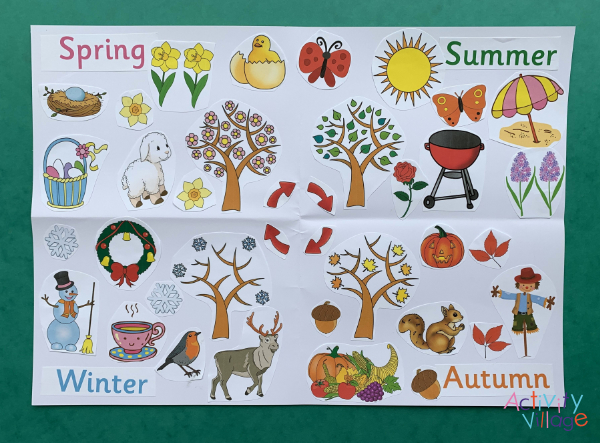
Our completed poster
This is a guest post from Shelly. Shelly is a home educating parent of two children aged 10 and 12. She blogs at ofamily learning together where she shares ideas on the different learning activities that they do including lots of hand-on maths, arts and crafts and anything else that is part of their home educating lifestyle.
You can find more guest posts by Shelly, and a list of all our guest posts, here.