Making a wreath can be a fun craft activity throughout the year, not just at Christmas. Shelly and her family make an autumn wreath, star wreath and Christmas wreath in this guest post.

Wreath Crafts
By Shelly
We had quite a few left over autumn themed images lying around the house and I hate throwing anything away so I suggested to my son that we could make an autumn themed wreath. He immediately jumped at the idea just because he knows "wreath craft" equates to painting paper plates. And for some unknown reason my son loves painting paper plates – really he does, he will sit and happily paint a whole bunch in a range of different colours for me.
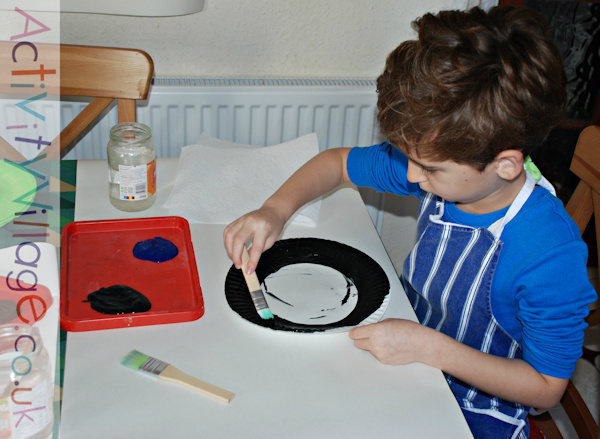
Painting paper plates
For the wreaths I always cut out the centre of the paper plates and then the kids paint both sides of the plate whatever colour they like (we tend to use Acrylic paint for this). We let our paint plate cut-outs dry overnight. Then we started creating our autumn wreath. For the autumn wreath we used some left over coloured leaves that we had made using the leaf templates traced onto coloured paper and the acorns were from the autumn cutting shapes page.
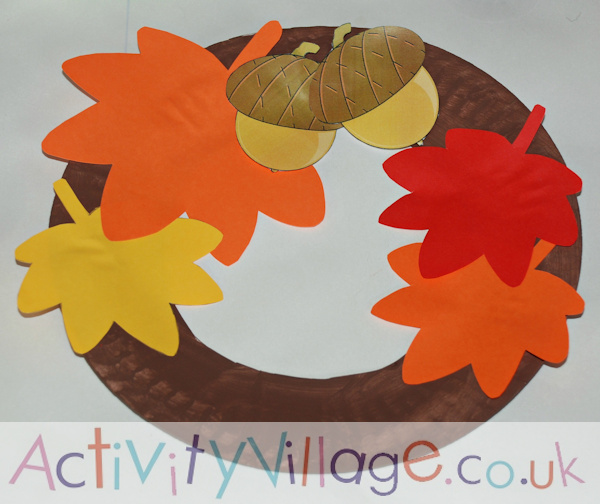
Our finished autumn themed wreath
My son was determined that he needed to create a star wreath, I have no ideas why stars. So we printed out the colour version of the cutting practice star page and I also printed out the black and white version on some yellow and red paper. And he got cutting.
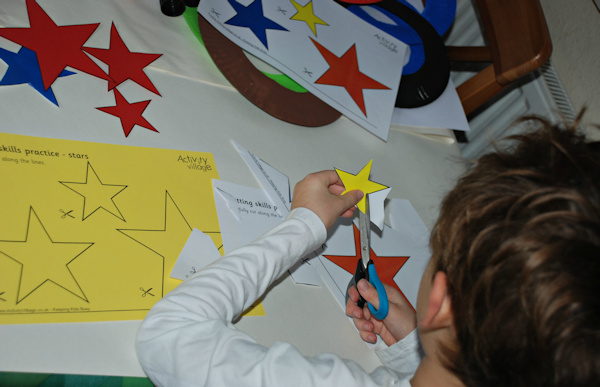
Cutting out the stars
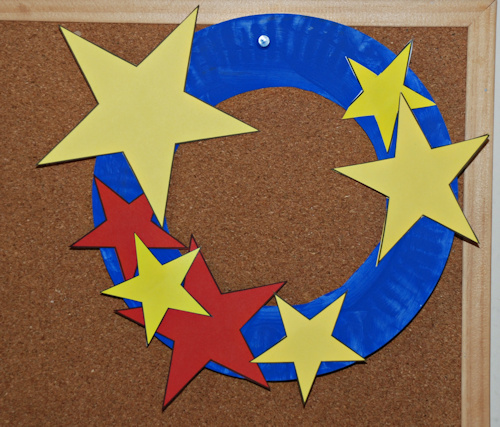
He cut out a lot of stars mainly because he was determined to make two star wreaths – he wanted one with a blue background and one with a black background.
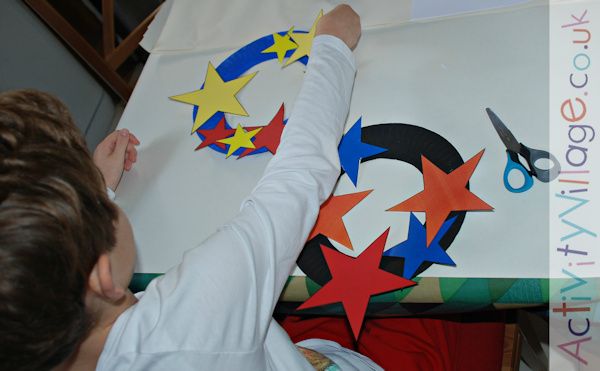
Making his star wreaths
We pinned his blue star wreath up on the noticeboard.
And then hung his black one by one of the doors. (I just tied some wool around the top of the black wreath and hung that over a hook.)
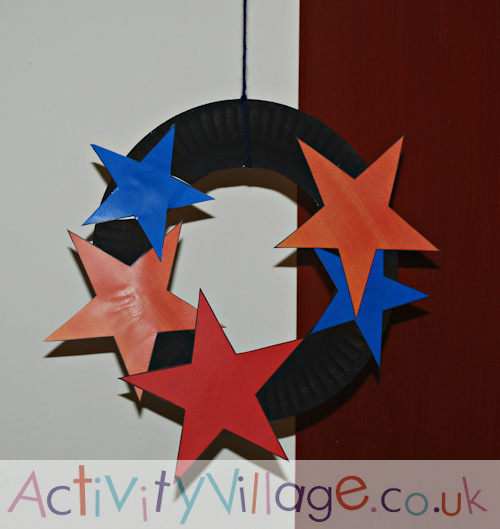
Because of where we hung the black wreath it tended to spin around so we have actually altered it now and added stars to both sides of the wreath so as it spins around you see stars on both sides. It really looks good with the stars on both sides.
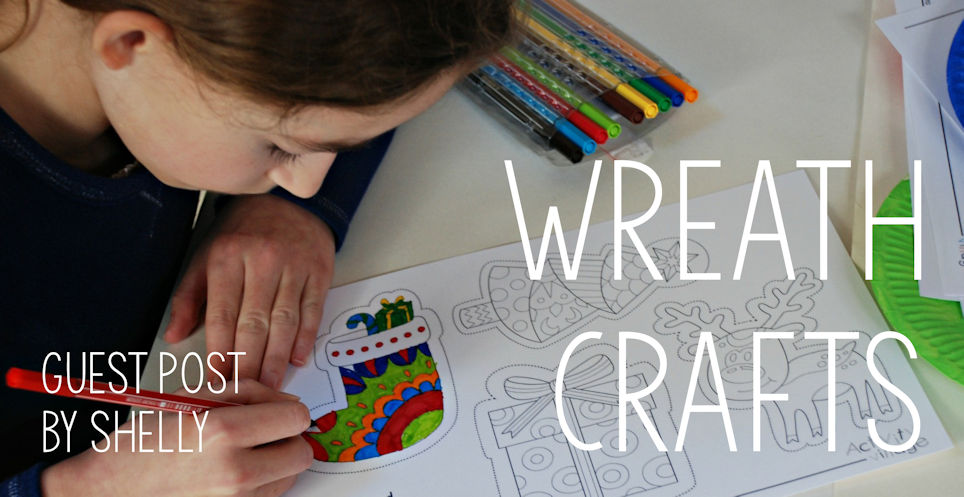
And it just so happens that I had printed out some of the Christmas images to use as name tags on Christmas presents that I needed to post. So no big surprise but both the kids thought we needed some Christmas themed wreaths! We used a combination of the colourful cutting practice Christmas image pages and the black and white ones (see below) which the kids coloured in with some felt tip pens.
- Christmas cutting shapes 1
- Christmas cutting shapes 2
- Christmas colouring picture cut outs
- Christmas colouring picture cut outs 2
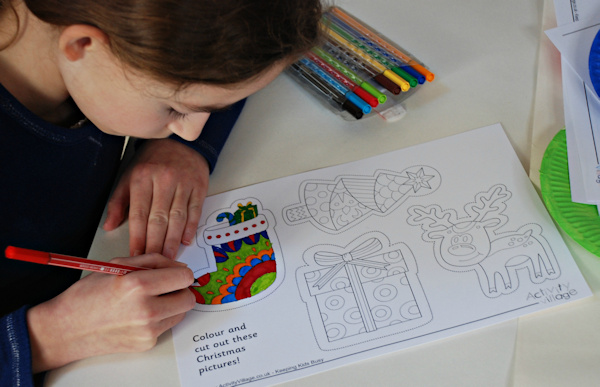
Colouring in some of the black and white Christmas images
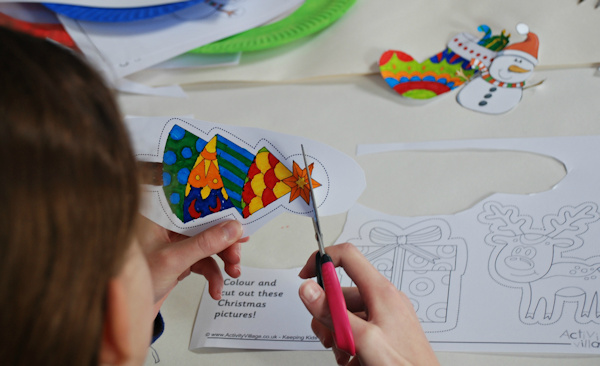
Cutting out Christmas images
The end result being that we already have some Christmas themed decorations up in the house. I really love the way the Christmas bauble one turned out. So simple yet so effective!
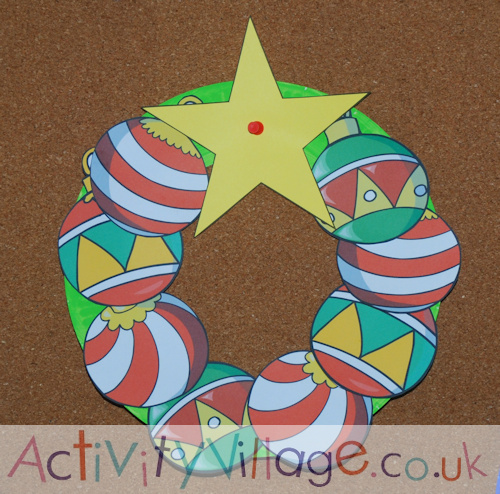
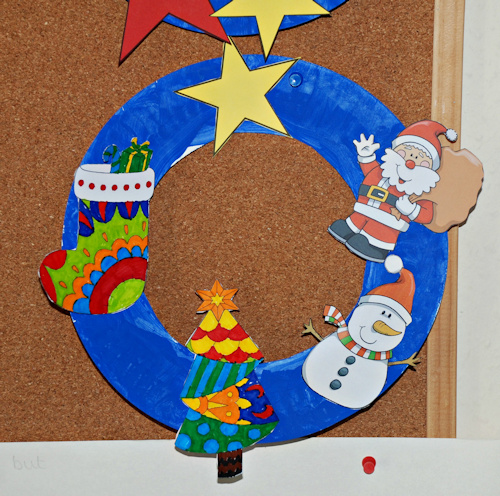
Making a paper plate wreath with the kids is really an easy craft activity and the bonus is the kids get to practise their cutting.

This is a guest post from Shelly. Shelly is a home educating parent of two children aged 6 and 9. She blogs at ofamily learning together where she shares ideas on the different learning activities that they do including lots of hand-on Maths, arts and crafts and anything else that is part of their home educating lifestyle.
You can find more guest posts by Shelly, and a list of all our guest posts, here.
