Here's a quick and simple paper turkey craft idea, with three variations so that you can adapt it to suit the ages of your children. With Thanksgiving approaching I thought it might be appropriate!
We used the turkey body from the turkey playdough mat as our starting point. We made three turkeys in total, using three different methods with increasing difficulty.
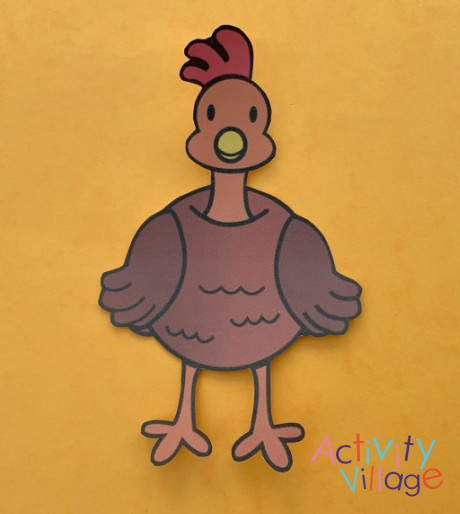
Our turkey playdough mat cut out
For the first turkey I decided to depict its wing feathers as a little more than a semi-circles. You could draw your circles free hand orget the kids to practise using their compasses. We went with the compass route.
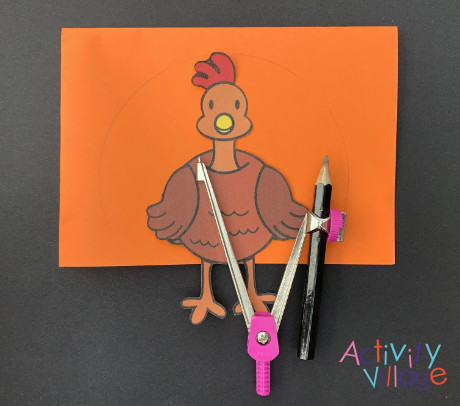
Measuring the circle for turkey 1
Once I had my first circle I then used it as a base to make sure I got the second circle the right size. We only did two circles but you could add as many layers as you want.
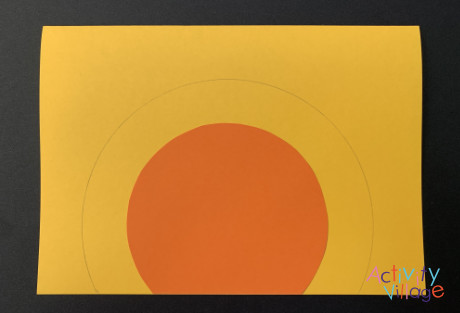
Circle turkey feathers ready for cutting out
I glued my two circles down on a piece of paper and then stuck our turkey body on top.
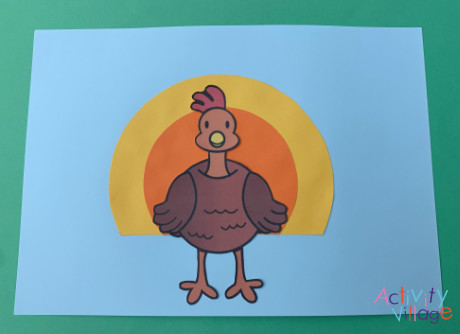
Our first turkey ready for decorations
Now the question was - how could we decorate the tail feathers of the turkey? I came up with a few ideas: using coloured buttons, crafting pom poms or some perla beads from a necklace making kit. You could also use coloured tissue paper, pasta, crafting gems or stickers.
Decorate with buttons, beads or pompoms perhaps?
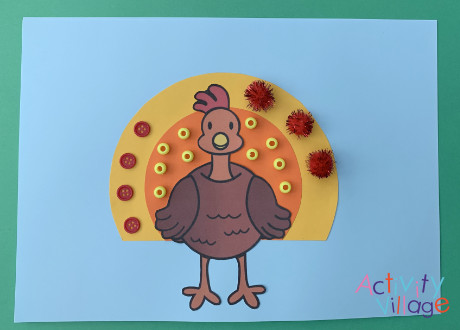
In the end my kids voted on the button option.
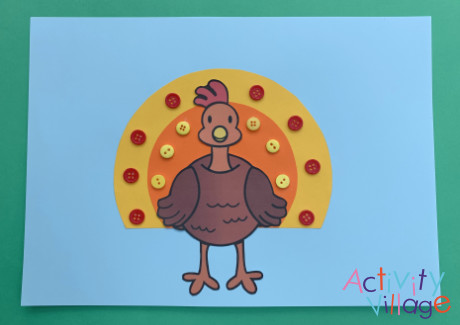
Our finished turkey decorated with buttons
I liked the end result of our colourful turkey with his buttons!
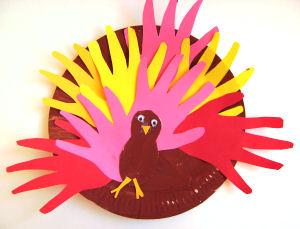
For the second turkey I decided to make his “tail” a bit more complicated. Instead of semi-circles I cut out an elongated oblong-type shape in three different sizes and in three different colours. We layered the different colours for his tail feathers.
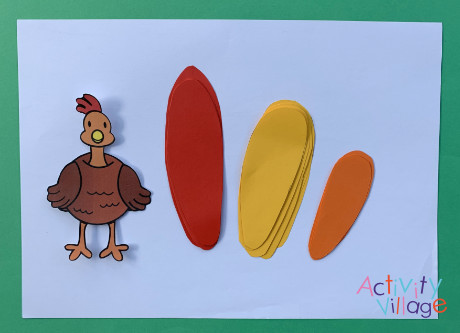
Three lots of turkey wings cut out
When gluing his tail down, I only glued down the botton sections so the top parts of his tail are not stuck down. This gives the turkey a bit more of a 3D effect. When I glued his body on top of his wings I only stuck down the main body, leaving his feet and head free.
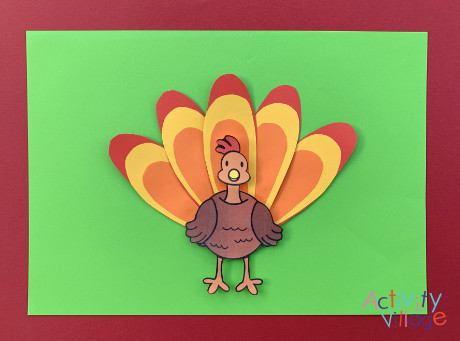
Turkey number 2 complete!
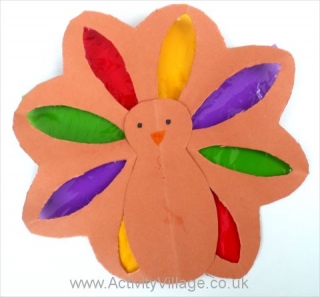
Now for our third turkey! We stuck with the idea of the shaped tail feathers, but instead of using coloured paper we made some special paper of our own. We "bled" some orange, yellow and red tissue paper onto a sheet of A3 paper and left it to dry.
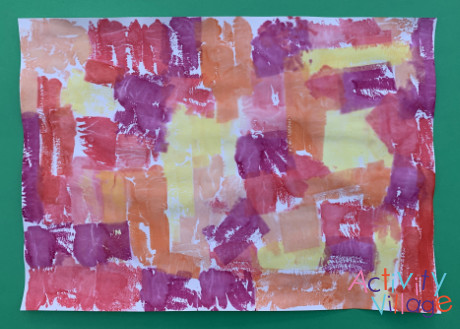
Our "bled" tissue paper sheet ready for cutting out
We ended up adding in a few more tail feathers and we glued his feet down but left his head and wings free.
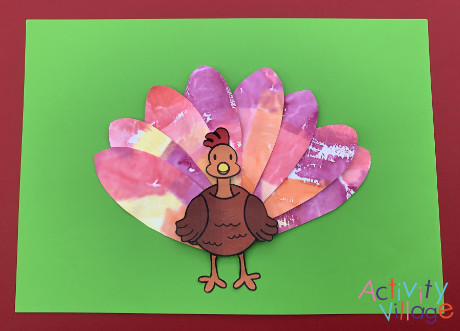
And here's turkey number 3, with very pretty wings!
I'm sure you can think of more ways to create your own turkey wings, using our turkey body as the starting point!

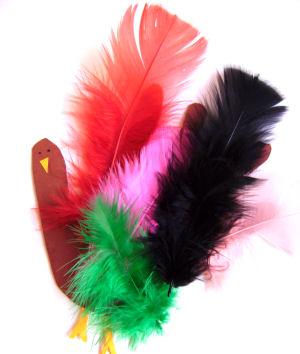
Thanks to Shelly for this idea and for her kids for creating these colourful turkey feathers!
Shelly is a home educating parent of two children aged 10 and 12. She blogs at ofamily learning together where she shares ideas on the different learning activities that they do including lots of hand-on maths, arts and crafts and anything else that is part of their home educating lifestyle.