Sarah makes some beautiful butterfly suncatchers using printables from Activity Village in this lovely guest blog post.

Making Butterfly Suncatchers
By Sarah
A few weeks ago I was looking for good templates to use to make suncatchers with a craft group I run which is aimed at children aged 11 plus (the adults do tend to join in too!) I decided that our butterfly colouring pages were absolutely perfect for what I had in mind. The only problem is they triggered more ideas, and we ended up having a go at 3 different butterfly suncatchers! So Sam and I had a relaxed crafty afternoon yesterday while the other members of the household sat in front of the football and now we have some lovely sparkly butterflies gracing our front door.
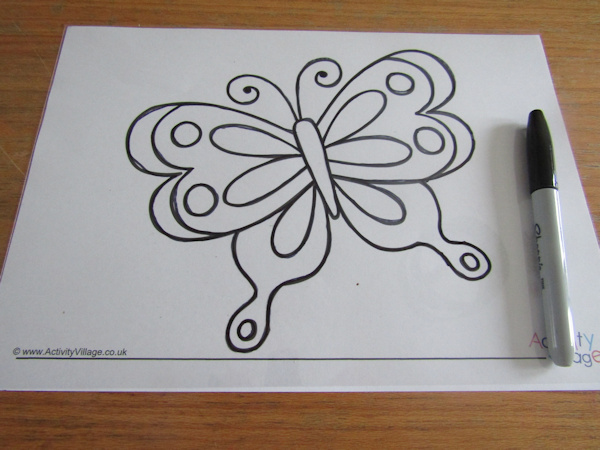
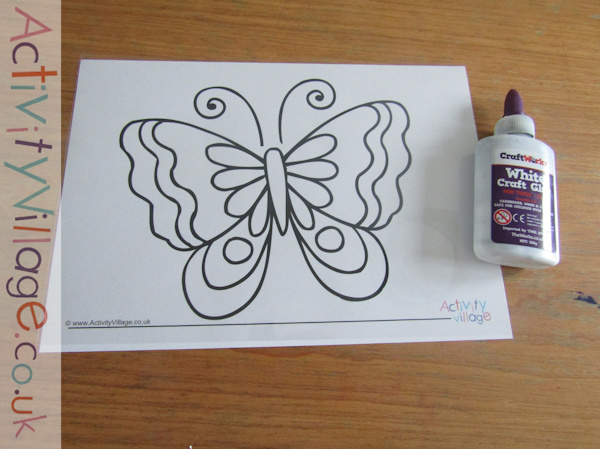
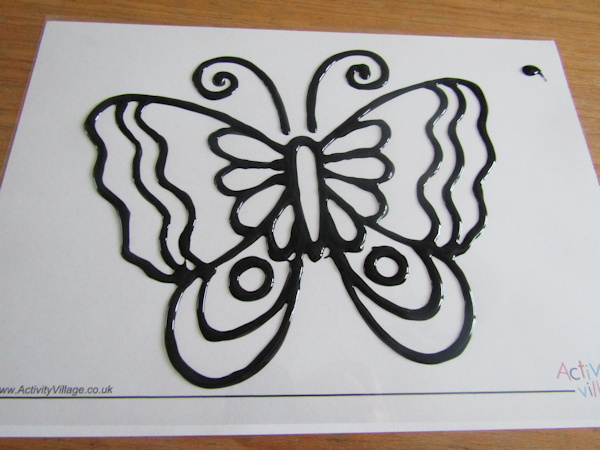
The main group activity was these lovely metalic suncatchers. I printed the butterfly colouring pages at 65% of full size - you will need to adjust your percentage depending on the size of your tin.
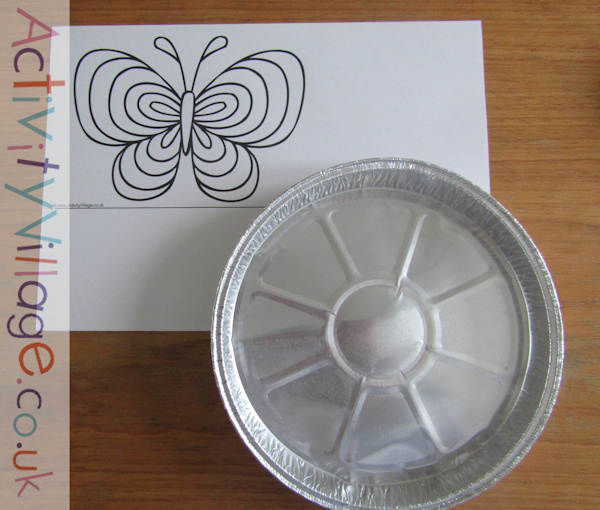
Colouring page printed at 65%
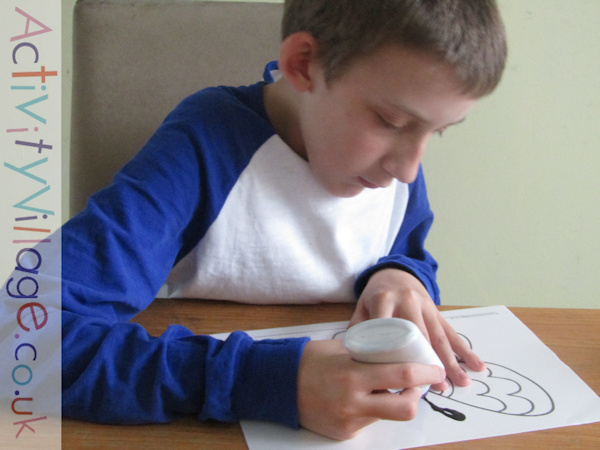
Take a foil baking tray/tin and cut off the sides to give you a flat base, being very careful as edges can be sharp. Pop your chosen template on top and a newspaper underneath (a folded cloth or piece of craft foam would also work) and draw over the lines of the template with a blunt pencil pressing firmly. Avoid the temptation to look before you finish as getting the template back in position is tricky.
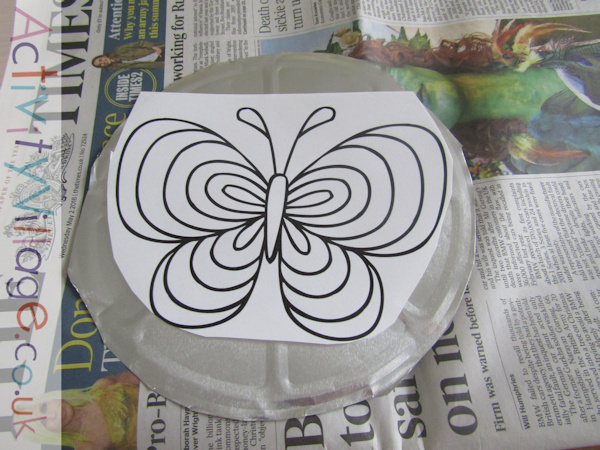
Tracing over the lines of the colouring page
When you lift up the paper you should see the picture etched on to the foil.
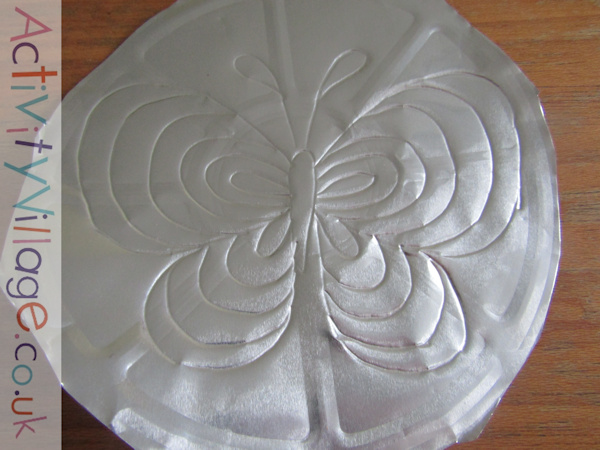
Etching the butterfly suncatchers!
Trim around the outside of the picture and colour in both sides with Sharpies.
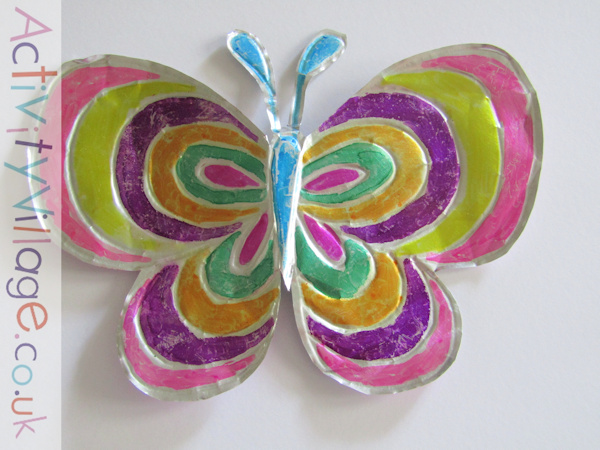
Our finished metallic butterfly suncatcher
I'd intended to offer a second craft at the group too but the foil one held their attention for a long time and in the end we ended up toasting Starburst over the candles instead. Try it! In the UK Starburst are vegetarian so make a good alternative to marshmallows.
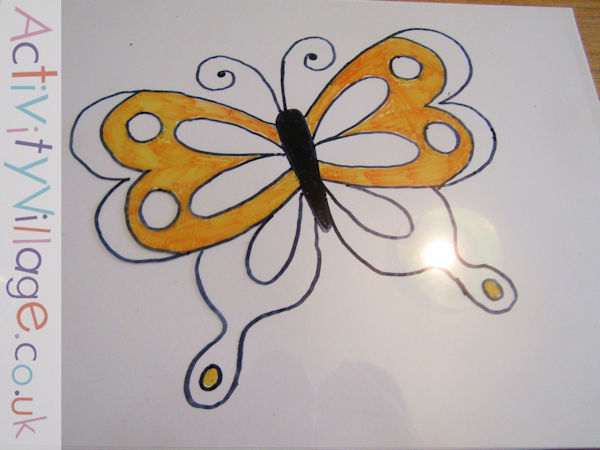
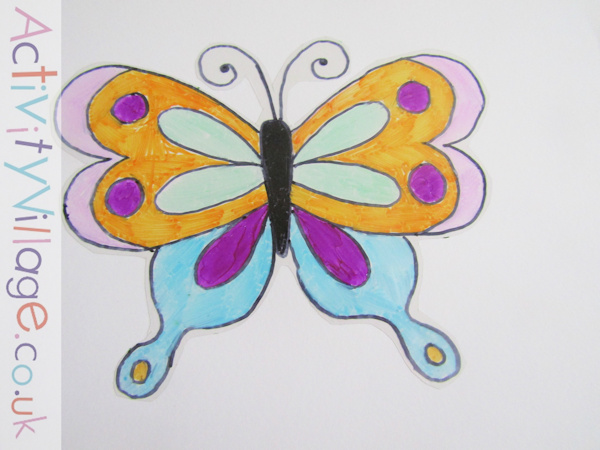
Anyway we started with a piece of acetate over a colouring page and then traced the outline with a black Sharpie before colouring it in.
Tracing the outline onto acetate with a permanent marker
Colouring the acetate
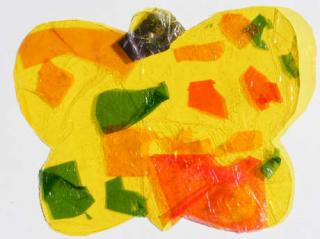
Our acetate butterfly cut out and coloured, ready for the next step
We cut out the butterfly and then held the edges over a candle for a few seconds, moving it about as the plastic melted and curled until we had an effect we liked. It only takes a few seconds for the heat to have an effect so be careful not to allow it to burn, and take care not to touch the plastic immediately as it will be hot.
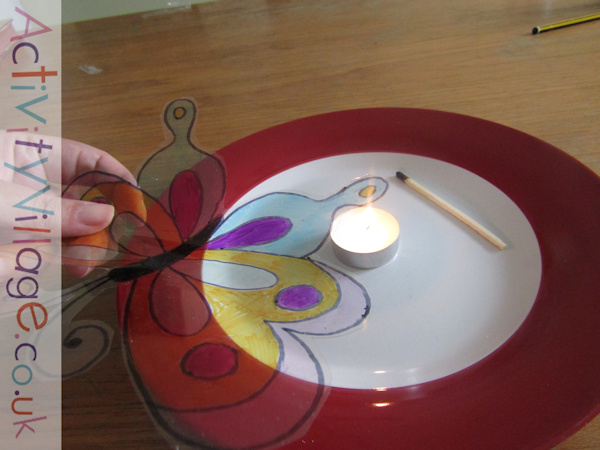
Curling the edges of the acetate butterfly - very satisfying!
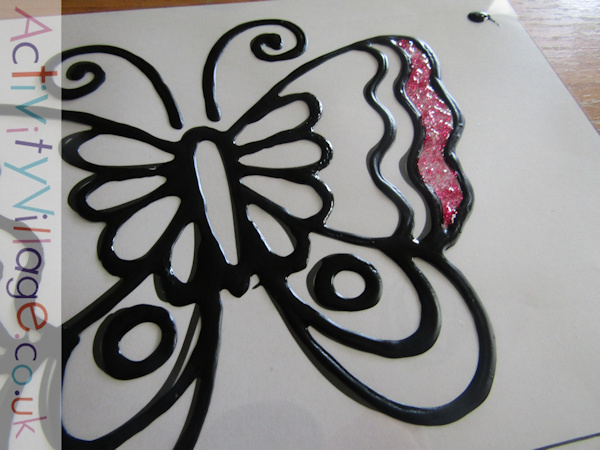
The final craft we tried was a project just for us. We took a small bottle of pva glue that had an applicator cap. We dyed the glue black by squeezing in some black food colouring (we used gel) and stirring with a skewer.
We started off the same way with a piece of acetate over the colouring page we'd chosen. Squeezing gently, we traced the outline of the colouring page using the glue direct from the bottle. When we'd finished we set the acetate aside to let the glue dry.
Coloruing page and acetate ready for tracing
Sam tracing over the lines
Edges traced in dyed PVA glue - allow time to dry!
When the glue was nearly dry (we were bored of waiting hence the smudge on Sam's) we coloured in the butterflies by squeezing glitter glue in to an area and using the tip of the glue to spread it about to cover the area.
Filling the gaps with glitter glue
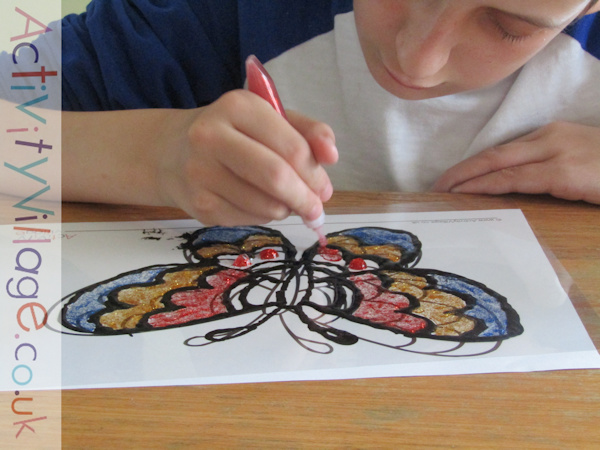
Sam dotting in glitter glue and then spreading it out
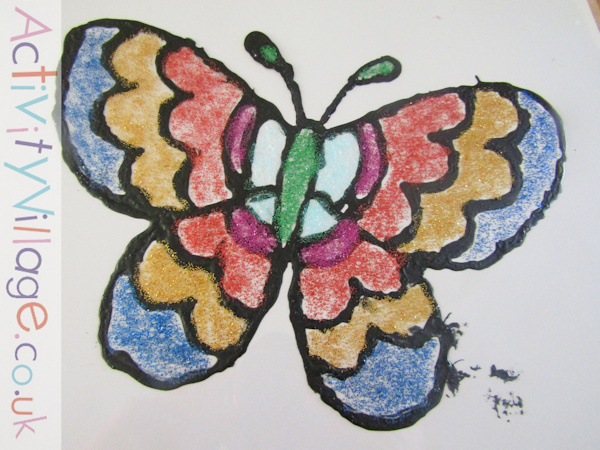
Sam's glitter glue butterfly suncatcher
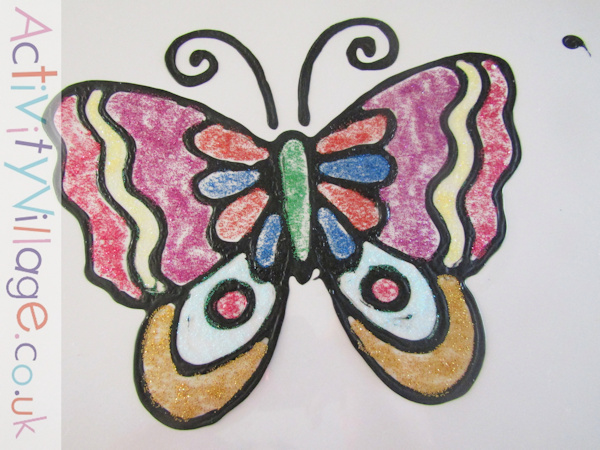
My finished butterfly suncatcher
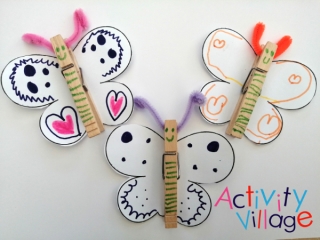
We have displayed our beautiful butterlies on the front door to welcome visitors. The first two crafts would be suitable to hang outside, perhaps from a tree.
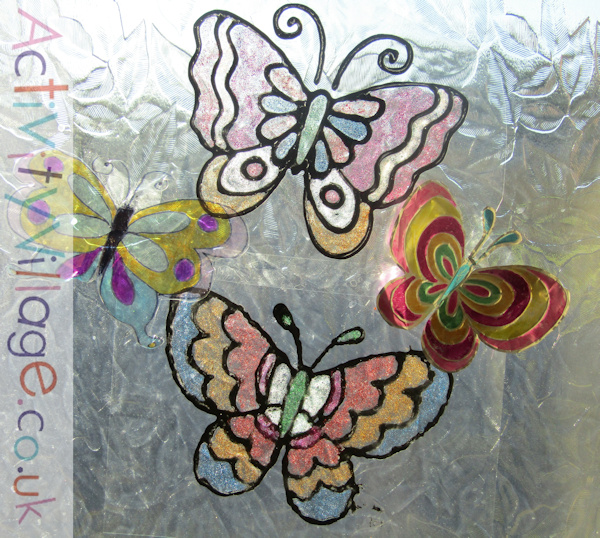
Beautiful butterflies on display!
This is a guest post from Sarah. Sarah has been helping with Activity Village for over 10 years, providing most of our lovely craft ideas as well as many of our printable resources. She home educates her son, blogs at Life, Love and Literature and organises regular Group events and workshops.
You can find more guest posts by Sarah, and a list of all our guest posts, here.