Are your children spider lovers? Mine aren't but Shelly's son loves them, and that inspired this fabulous art idea which was particularly suitable for Halloween. Of course you can adapt this idea and try it with all sorts of colours and creatures, and not just at Halloween.

My son likes spiders - no, he loves spiders - but I have to admit I felt like I had come to the end of my ideas on how we could include spiders in art activities. Then we started playing around with the idea of hidden pictures and suddenly I thought a spider hidden picture would be great. We did one, and then a second one.
We started by drawing a number of evenly spaced lines onto our A4 sheet of card. The lines can be horizontal or veritical, but they need to be evenly spaced. Then, using these spider templates, we traced some spiders over the lines, making sure that none of the spiders overlapped.
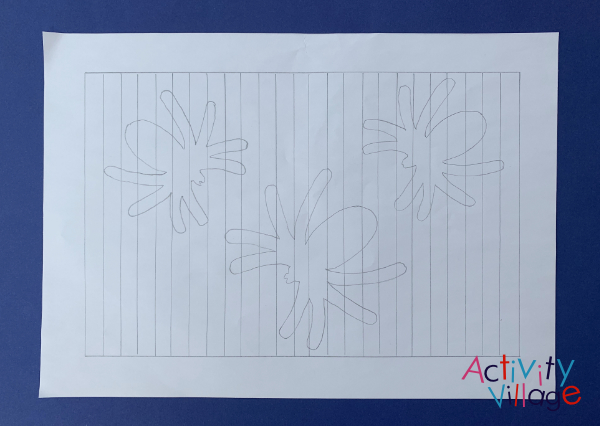
Tracing spiders over our grid
We then talked about our colour scheme. For hidden pictures you want two colours and you alternate the colours for each line. We decided on a black and white option - actually the quickest option as you just leave the white lines blank. Now here's the important bit. If the line is coloured in black when you get to the spider you need to leave it white and if the line is white when you get to the spider you will need to colour that section in black - have a look at the picture below to see what I mean!
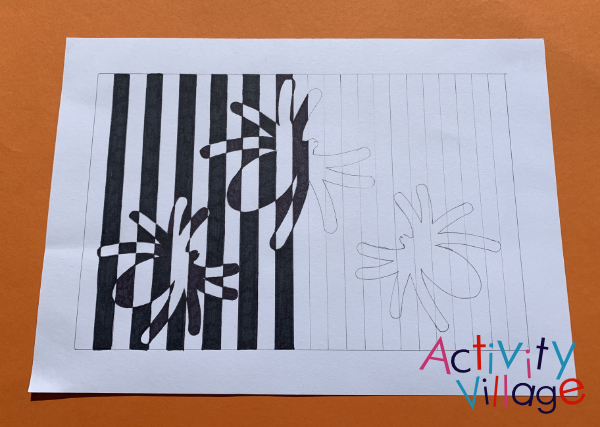
Colouring in our spiders
My son really liked the effect of the black and white with his spiders and he quickly finished his picture.
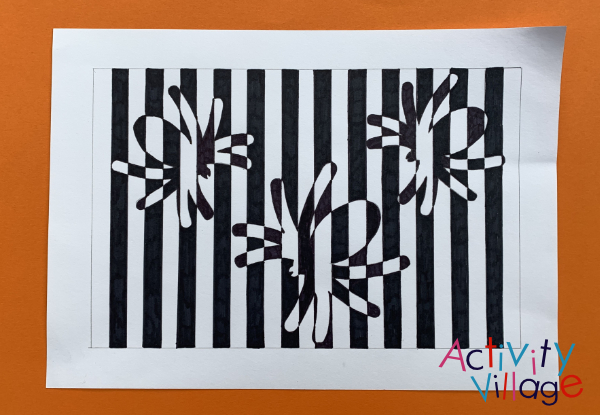
His finished spider picture
Looking at the finished picture, I suggested that it would help if he draw (with a ruller) a black border around it. He agreed and did.
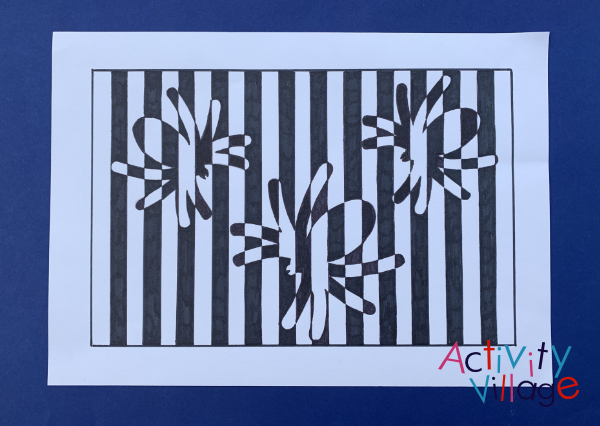
Finished spider picture with additional border
After his success with the black and white spiders we tried another one, but this time we did one large spider and we alternated purple and blue as our two colours and instead of using felt-tip pens we used colouring pencils.
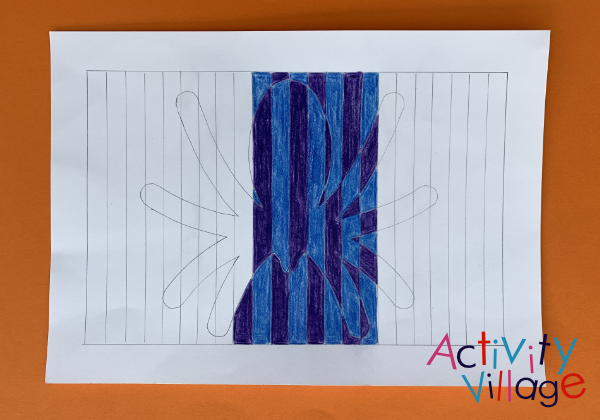
Starting a second, blue, spider
I must admit this version did take quite a bit longer than the first and my son much preferred the end result of the black and white picture, but it is always fun to try a different way of doing something.
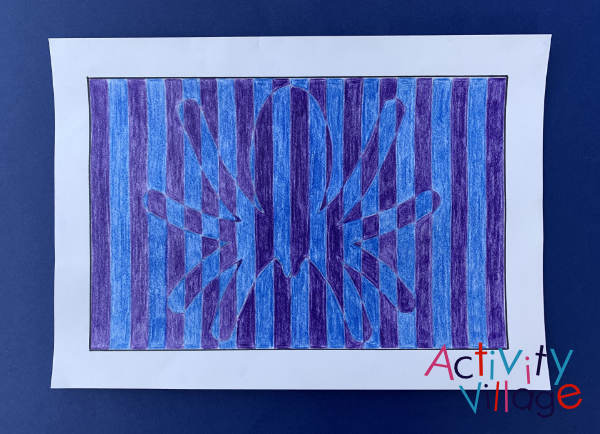
His finished blue spider
For our third picture we went back to the black and white method using our felt tip pens, but we change our subjects and tried some bats using this bat template. This session turned into a spooky art project for Halloween!
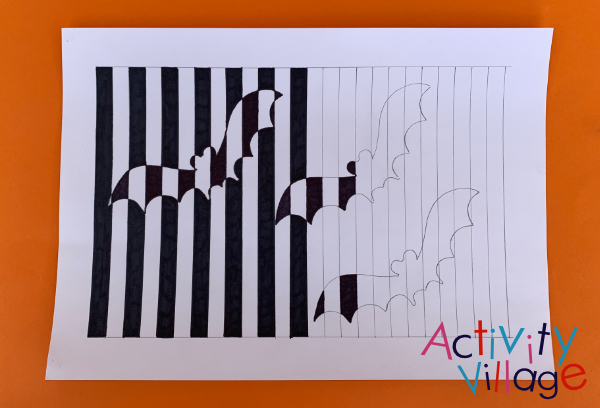
Our third picture - with bats
I do think the bats worked really well on this and I agree there is something about the black and white combination that just works really well.
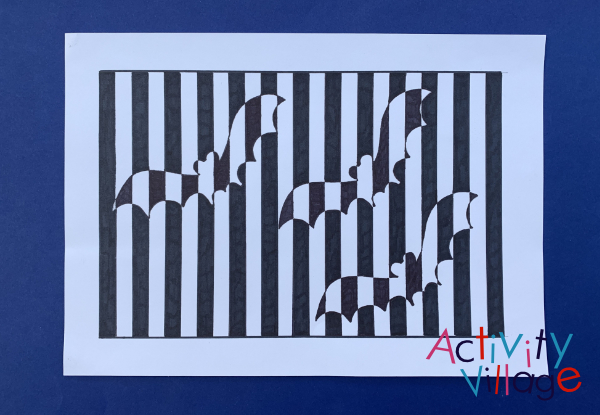
Our finished hidden bat picture
You really could use any of the animal templates for this art idea but I think it suits the spiders and bats. My daughter suggested trying a cat version with this cat template, which I think would be very effective and would make a good trio for Halloween, so possibly next time. You might want to try it with some of the non-animal Halloween templates, too.

I hope you have a go at creating your own Halloween Hidden Pictures! Thanks to Shelly for this idea.
Shelly is a home educating parent of two children aged 10 and 12. She blogs at ofamily learning together where she shares ideas on the different learning activities that they do including lots of hand-on maths, arts and crafts and anything else that is part of their home educating lifestyle.